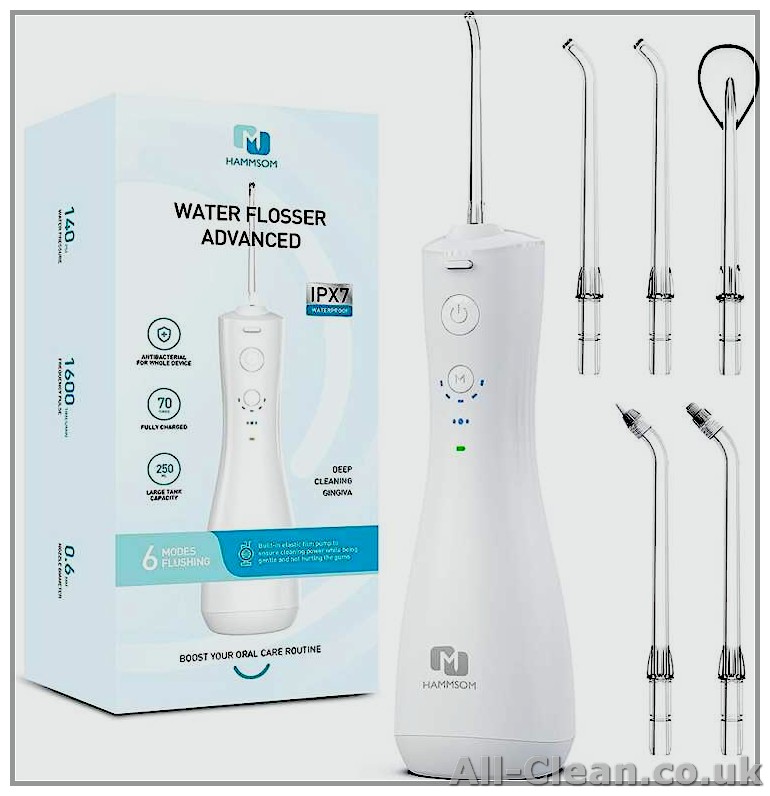
Maintaining proper oral health is essential for overall well-being. One way to achieve this is by using a Waterpik Water Flosser. These innovative devices provide an effective alternative to traditional flossing, using a combination of water pressure and pulsations to remove plaque and debris from between the teeth and below the gumline. However, to ensure optimal performance and longevity, it is crucial to keep the Waterpik Water Flosser clean and free from bacteria and buildup.
Cleaning your Waterpik Water Flosser is quick and easy and should be done on a regular basis. Following a simple routine will help keep your device in top condition and enhance its effectiveness. Monthly cleaning is recommended, but you can also perform this routine more frequently if desired. By following the steps below, you can prevent any potential damage to your unit and ensure the longevity of your Waterpik Water Flosser.
The first step in cleaning your Waterpik Water Flosser is to turn off the unit and unplug it from the power source. Next, remove the water reservoir by sliding it out of the handle. Empty any leftover water into the sink. To avoid any mishaps, it is best to perform these cleaning steps over a countertop or in a sink.
To clean the reservoir, gently wash it with warm soapy water. Rinse it thoroughly to remove any soap particles and wipe it dry with a soft cloth. If you prefer, you can also use a mixture of water and vinegar for a deeper clean. Fill the reservoir halfway with distilled white vinegar or a 50/50 mixture of vinegar and water, then let it sit for 5 to 10 minutes to loosen any mineral buildup. Rinse the reservoir well and wipe it dry before placing it back in the unit.
Step 1: Clean the Reservoir
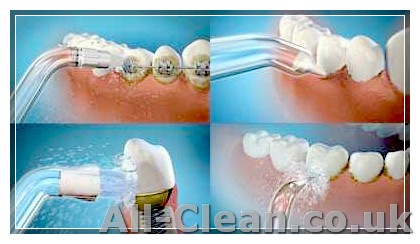
To maintain the effectiveness and hygiene of your Waterpik Water Flosser, it is important to clean it regularly. Here’s a step-by-step guide on how to clean the reservoir:
- First, turn off the unit and unplug it from the power source.
- Remove the reservoir from the unit by gently pulling it backward.
- Empty any remaining water and eject any residual cleanser or mouthwash.
- Wash the reservoir with a mild liquid soap and warm water or use a mixture of 2 parts white vinegar and 5 parts distilled water for a deep clean.
- Rinse the reservoir thoroughly to remove any soap or cleanser residue.
- If there are any stubborn stains or mineral deposits, you can scrub the reservoir gently with a soft brush or cloth.
- Ensure that the valve at the bottom of the reservoir is clean and free from any debris.
- Once the reservoir is washed and rinsed, it can be placed back onto the unit by aligning the guide rails and sliding it back into position.
By following these simple cleaning tips, you’ll be able to keep your Waterpik Water Flosser in good working condition and maintain your oral health for a long time. For more detailed instructions, you can refer to the FAQs or user manual of your device.
Step 2: Remove and Clean the Water Flosser Tip
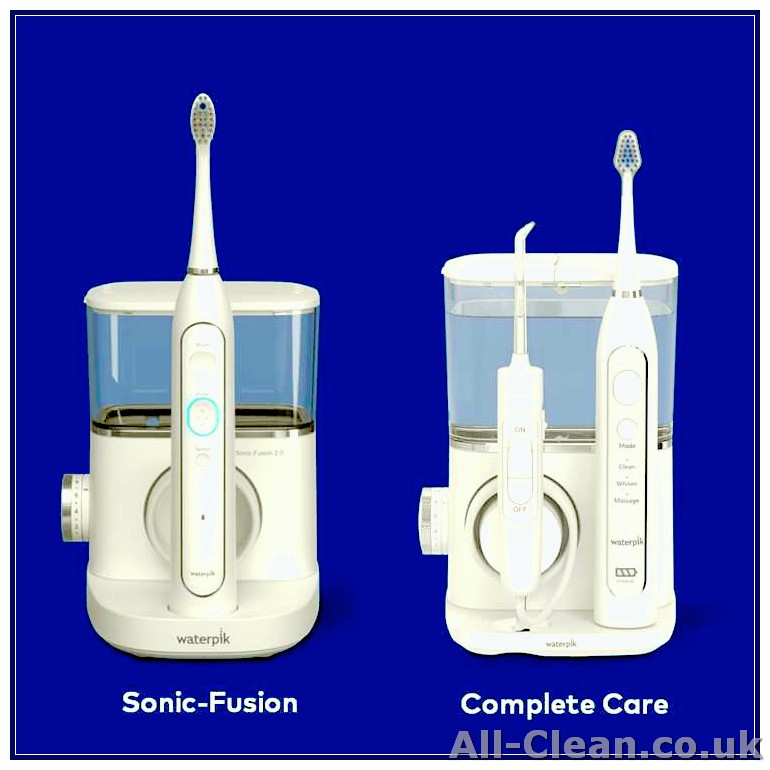
Once you’ve finished cleaning the reservoir in Step 1, it’s time to remove and clean the water flosser tip. This is an important step to keep your Waterpik Water Flosser clean and your oral health maintained.
- Remove the water flosser tip by firmly grasping the tip and pulling it straight out of the unit. The tip should come off easily, but be careful not to squeeze or twist it as this may cause damage.
- Rinse the water flosser tip under warm water to remove any remaining debris or particles. You can also use a soft toothbrush to gently scrub the tip and remove any buildup.
- Fill a bowl or cup with a mixture of distilled water and mouthwash. Distilled water is recommended to avoid any mineral buildup in the unit. Soaking the tip in mouthwash helps to keep it clean and fresh.
- Place the water flosser tip in the bowl or cup, ensuring that it is fully submerged. Let it soak for a few minutes to allow the mouthwash solution to clean and disinfect the tip.
- Gently remove the water flosser tip from the bowl or cup and rinse it well under warm water to remove any remaining mouthwash solution. Make sure to rinse it thoroughly to avoid any residual taste.
Cleaning the water flosser tip on a regular basis is important to prevent bacteria and mold buildup. It is recommended to clean the tip after each use and soak it in a mouthwash solution at least once a week to keep it well-maintained.
Note: If you prefer to use a different oral irrigator like an Oral-B unit, the cleaning process may vary. Please refer to the specific instructions provided by the manufacturer for your device.
In the next step, we will learn how to clean the water flosser handle and reservoir. Click here to watch the video tutorial or continue reading below.
Step 3: Clean the Flosser Handle

Just like the reservoir, it’s important to keep the flosser handle of your Waterpik Water Flosser clean to ensure optimal performance and maintain oral health. Here are some instructions on how to clean the flosser handle:
- Wash the handle with warm water: Start by rinsing the handle with warm water to remove any debris or particles that may be stuck on the surface.
- Dishwasher safe models: If your Waterpik Water Flosser handle is dishwasher safe, you can place it in the dishwasher for a thorough cleaning. Follow the manufacturer’s instructions and make sure the handle is securely placed in the dishwasher rack.
- Weekly cleaning routine: Even if your flosser handle is not dishwasher safe, it’s still important to clean it regularly. We recommend doing this on a weekly basis to keep it hygienic.
- Use a mild distilled vinegar-water solution: In case you notice any mold or mildew buildup on the handle, you can soak it in a mild distilled vinegar-water solution. Mix equal parts of vinegar and water and let the handle soak for about 15 minutes. Rinse thoroughly afterwards to remove any vinegar residue.
- Prevent bacteria buildup: To prevent bacteria buildup on the handle, it’s best to rinse it thoroughly after each use. Make sure to run water through the handle, especially around the button area.
- Use a soft toothbrush: If necessary, you can gently scrub the outside of the handle with a soft toothbrush to remove any stubborn particles or stains. Avoid using harsh cleaners or abrasive materials that may damage the handle.
- Deep clean with mouthwash: For an extra deep clean, you can also run mouthwash through the handle. This can help eliminate any lingering bacteria or odors.
By following these care instructions, you’ll be able to keep your Waterpik Water Flosser handle clean, well-maintained, and hygienic. Remember, a clean flosser handle is essential for maintaining optimal oral health and preventing any potential health issues.
Step 4: Clean the Flosser Body
Now that we have cleaned the nozzle and the reservoir, it’s time to clean the flosser body. This step is important to ensure that your Waterpik Water Flosser remains in good condition and continues to provide effective oral care.
Here are the steps to clean the flosser body:
- Turn off the unit and unplug it from the power source to ensure safety.
- Remove the reservoir from the unit. Some models have a separate base that you can remove.
- If the prongs on the unit are dishwasher-safe, you can put them in the dishwasher. Refer to the user manual for instructions on whether or not your specific model’s prongs are dishwasher-safe.
- If the prongs are not dishwasher-safe, you can clean them by gently scrubbing with a soft brush or toothbrush. Remember to brush or scrub carefully to avoid causing any damage to the prongs.
- Next, you can clean the flosser body by wiping it with a damp cloth or sponge. You can use a mild solution of water and vinegar to remove any build-up or mold that may have accumulated over time. Be sure to wring out the cloth or sponge well before wiping the flosser body to prevent any excess liquids from entering the device.
- If there is any mildew or mold in hard-to-reach areas of the flosser body, you may need to use a small brush or Q-tip dipped in vinegar to remove them. Be gentle and be careful not to damage any parts of the unit.
- Once the flosser body is cleaned, rinse it thoroughly with water to remove any traces of vinegar or cleaning solution.
- Lastly, dry the flosser body with a clean towel or let it air dry completely before reassembling the unit.
By following these steps, you will ensure that your Waterpik Water Flosser remains clean and well-maintained. Regularly cleaning the flosser body, along with the nozzle and reservoir, is crucial for optimal performance and effectiveness of the device.
Step 5: Clean the Flosser Tip
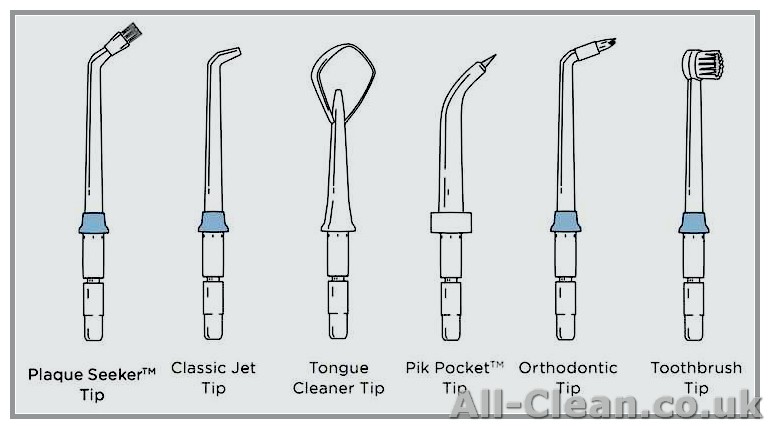
After cleaning the water reservoir, tube, and handle of your Waterpik® Water Flosser, it’s important to also clean the flosser tip. The flosser tip is the part of the unit that you place in your mouth to clean your teeth and gums.
To clean the flosser tip, follow these easy steps:
- Remove the flosser tip from the handle. Different models may have different ways of removing the tip, so make sure to refer to the user manual for instructions specific to your model.
- Rinse the flosser tip under warm water to remove any remaining debris or leftover toothpaste.
- If desired, you can also soak the flosser tip in a mixture of mild soap and water or a mild mouthwash, such as Listerine, to help remove any buildup or bacteria. Let the flosser tip soak for a few minutes, then rinse it thoroughly.
- To ensure the flosser tip is completely clean, you can also use a small brush, such as an old toothbrush or a pipe cleaner, to scrub any hard-to-reach areas.
- After cleaning, rinse the flosser tip again under warm water to remove any soap or mouthwash residue.
- Once the flosser tip is clean and rinsed, you can reattach it to the handle. Make sure it is securely in place before using the Waterpik® Water Flosser.
Cleaning the flosser tip regularly is essential for maintaining oral health and preventing any buildup of bacteria or mold. It is recommended to clean the flosser tip monthly, or more often if you use your Waterpik® Water Flosser frequently or have hard water.
If you are unsure of how to clean your specific Waterpik® Water Flosser model, check the user manual or look for tips and video tutorials on the official Waterpik® website or other trusted sources.
By following these steps, you can keep your Waterpik® Water Flosser clean, hygienic, and well-maintained, allowing it to function efficiently for a long time to come.


