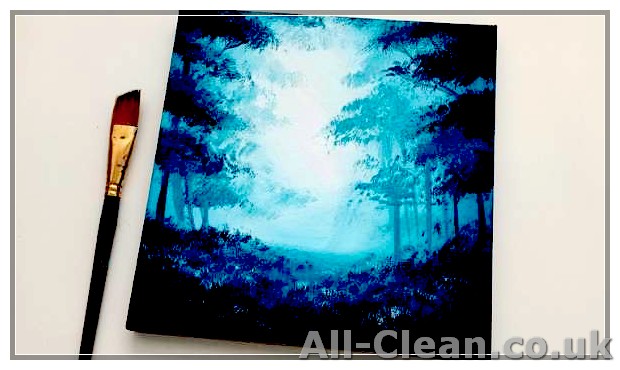

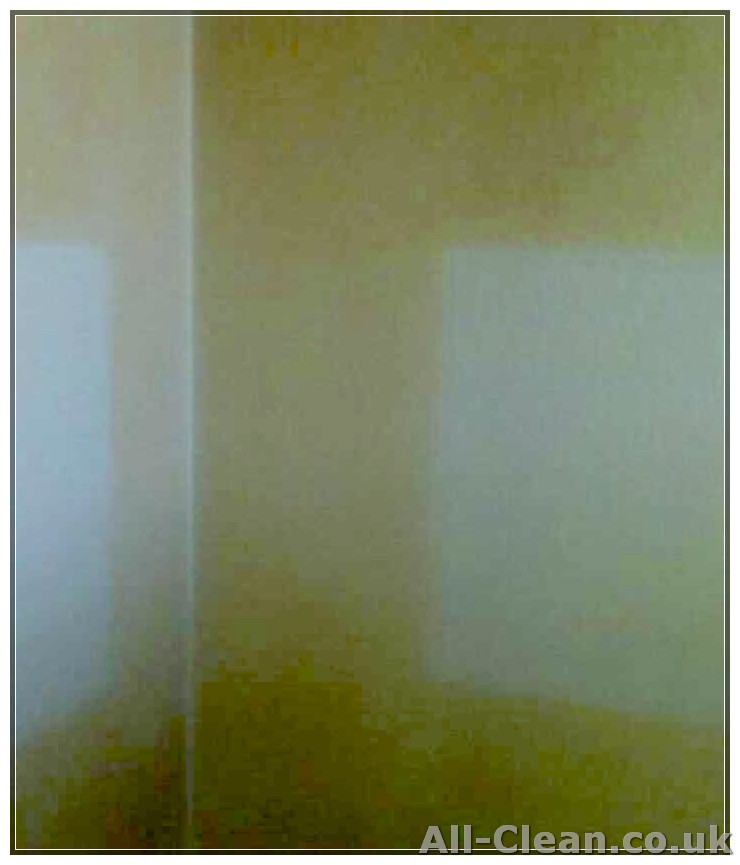
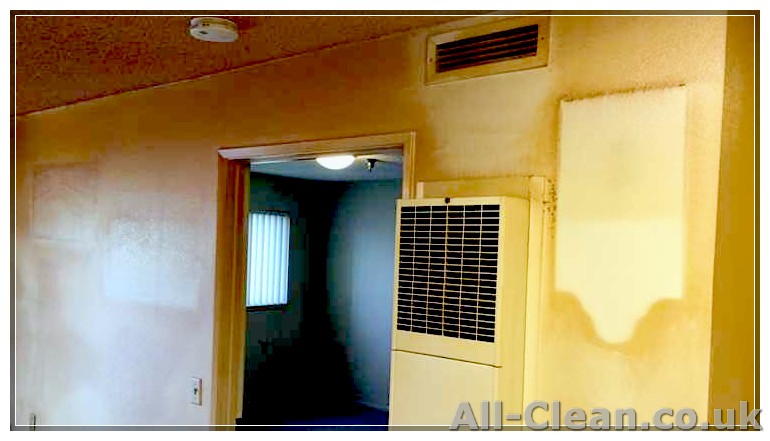
If you have oil paintings at home, you may have noticed that over time, cigarette smoke stains can accumulate on their surface. These stains can significantly diminish the beauty and color of your artwork, but the good news is that they can be removed with a few simple steps. In this article, we will provide you with an easy guide on how to remove cigarette smoke stains from oil paintings in the comfort of your own home.
Before we begin, it’s important to gather all the materials you will need for this process. You will need a solvent, such as rubbing alcohol or denatured alcohol, cotton balls, a soft sponge, a clean workspace, and some clean, white cloths. Keep in mind that some solvents may not be suitable for all paintings, so it’s always best to test them on a small, inconspicuous area first.
First, find a clean workspace where you can undertake this cleaning process. Make sure the area is well-ventilated to avoid inhaling any strong fumes. You may want to lay down a plastic sheet or newspaper to protect your workspace from any potential spills or stains.
Once you have your materials and workspace ready, gently wipe the surface of the painting with a clean, white cloth to remove any loose dust or dirt. Avoid using any colored or patterned cloths, as they may transfer color onto the painting.
Next, dip a cotton ball into your chosen solvent. It’s important to use a small amount and not saturate the cotton ball, as excessive moisture can damage the painting. Rub the stained area gently in a circular motion, applying light pressure. Remember to work from the outer edge of the stain towards the center to avoid spreading the stain further.
After gently rubbing the stained area, blot the solvent with a clean cloth. It’s crucial to avoid rubbing the cloth, as this can further embed the stain into the painting. Instead, simply blot the area until you see the residue being absorbed by the cloth. Repeat this process several times, using a fresh cotton ball and clean cloth for each stain, until the stain has been removed or significantly lightened.
Once the stains have been eliminated, allow the painting to air-dry in an upright position. Make sure to place it in an area with good air circulation and away from direct sunlight or heat sources. This will prevent any damage to the painting while it dries.
Finally, inspect the painting to determine whether any further cleaning or restoration is needed. In some cases, heavy or stubborn stains may require the assistance of a professional art restorer. If you’re unsure about how to proceed or if the stains persist, it’s always best to seek professional advice to avoid causing further damage to your artwork.
By following these easy steps and using the right materials, you can successfully remove cigarette smoke stains from your oil paintings at home. Remember to always test any solvents on a small area first and avoid using excessive moisture or pressure while cleaning. With a little effort and care, you can restore the beauty and color of your paintings and enjoy them for years to come.
- How to Remove Cigarette Smoke Stains from Oil Paintings
- 1. Assess the Damage
- 2. Gather the Necessary Supplies
- 3. Test a Small Area
- 4. Remove Surface Dust and Dirt
- 5. Apply the Cleaning Solution
- 6. Blot and Repeat
- 7. Apply a Varnish if Needed
- 8. Seek Professional Assistance if Necessary
- Step 1: Assess the Damage
- Step 2: Dust the Painting
- Step 3: Clean the Painting
How to Remove Cigarette Smoke Stains from Oil Paintings
If you have cigarette smoke stains on your oil paintings, you may be wondering how to safely remove them. Follow these easy steps to effectively remove cigarette smoke stains at home:
1. Assess the Damage
Before you begin the cleaning process, carefully assess the extent of the smoke stains on your painting. Determine whether the stains are on the surface or have seeped into the paint layers. This assessment will help you determine the appropriate cleaning technique.
2. Gather the Necessary Supplies
Before you start cleaning, gather the following supplies:
- Mild detergent
- Soft cotton balls or sponge
- Water
- Clean, soft paper towels
3. Test a Small Area
Before applying any cleaning solution to the entire painting, it’s important to test a small, inconspicuous area first. Dampen a cotton ball or sponge with water and a little mild detergent, then gently wipe the test area. If the colors remain unchanged and there is no damage to the paint, you can proceed with the cleaning process.
4. Remove Surface Dust and Dirt
Using a clean, soft brush or a vacuum cleaner with a soft brush attachment, remove any loose dirt or dust from the surface of the painting. Be gentle to avoid causing any damage to the paint.
5. Apply the Cleaning Solution
If the test spot showed promising results, apply the cleaning solution to the stained areas using a soft cotton ball or sponge. Gently dab the solution onto the stain, being careful not to rub or scrub too hard, as this may damage the paint. Work in small sections and change cotton balls or sponge frequently.
6. Blot and Repeat
After applying the cleaning solution, gently blot the stained areas with a clean, soft paper towel. Repeat this process until the smoke stains are completely removed.
7. Apply a Varnish if Needed
If the smoke stains have caused the colors to appear dull or uneven, you may consider applying a thin layer of varnish to even out the appearance of the painting. This step is optional and best left to professional art restorers if you’re unsure.
8. Seek Professional Assistance if Necessary
If you’re unsure about the cleaning process or if the smoke stains are extensive, it’s always best to seek professional assistance from an art restorer. They have the knowledge, techniques, and supplies to effectively remove smoke stains without causing further damage to the painting.
By following the above tips and techniques, you can easily remove cigarette smoke stains from your oil paintings and restore their original beauty.
Step 1: Assess the Damage

Assessing the damage caused by cigarette smoke stains is an important first step in removing them from oil paintings.
Step 2: Dust the Painting
Before applying any cleaning agents to the painting, it is crucial to thoroughly remove any dust particles that may have settled on the surface. Dusting the painting will help you assess the level of cleaning needed and prevent any potential damage from rubbing dirt or debris onto the canvas.
To dust the painting, follow these steps:
- Put on a pair of gloves to protect both your hands and the painting.
- Using a soft, clean cloth or a soft brush specifically designed for artwork, gently dust all areas of the painting.
- Take your time to carefully assess each section of the painting, paying attention to areas that appear to have more dirt or stains.
By dusting the painting, you create a clean surface that is ready for the next steps in the cleaning process. This step is important to ensure that the cleaning agents can effectively do their job without interference from dust or debris.
In some cases, dusting alone may be enough to restore the painting to its original state. However, if the dusting reveals more extensive staining, you may need to proceed with further cleaning steps.
Step 3: Clean the Painting
Now that you have prepared the surface of your oil painting, it’s time to clean it.
Supplies you will need:
- Cotton balls
- Bowl of water-based cleaning solution (diluted dish soap will work well)
- Sponge
- Soft, clean cloth
Here’s what you should do:
- Assess the affected area of the painting. Start by dabbing a cotton ball with the water-based cleaning solution and perform a spot test on a small, inconspicuous area of the painting to ensure the remedy will not damage the artwork.
- If the test area proves to be safe, continue by using a sponge dampened with the diluted cleaning solution to gently clean the affected areas. Take your time and work in small sections.
- Use a soft, clean cloth to wipe and dry the painting, being careful not to scrub too hard or use any abrasive materials that could damage the paint layers.
- If there are still lingering smoke stains, repeat the cleaning process until you’re satisfied with the results.
Some additional tips:
- Work in a well-ventilated area to avoid inhaling any cleaning fumes.
- If the painting has a strong smoke smell, you can try placing a bowl of vinegar or a few slices of white bread near it to absorb the odor.
- If you’re unsure or uncomfortable with cleaning the painting yourself, it’s always best to consult a professional art restorer for further advice and restoration.
By following these steps, you will be able to effectively remove cigarette smoke stains from your oil paintings and restore their original beauty.