
Bicycle disc brakes are an essential part of maintaining your bike’s overall performance and safety. Taking care of your disc brakes involves regular cleaning to remove dirt, dust, and other contaminants that can affect their performance.
Before you begin the cleaning process, it is important to have the necessary tools and materials. You will need a disc brake cleaner, a clean towel or cloth, a bottle of isopropyl alcohol, and a set of hex wrenches. It is also advisable to have latex or nitrile gloves to protect your hands.
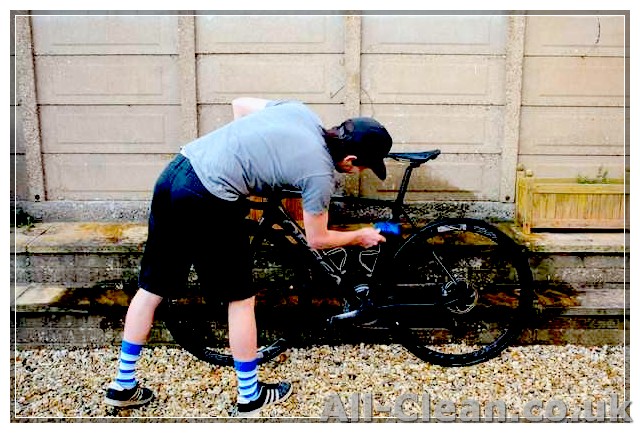
First, start by removing the wheels from your bike. This will give you better access to the brake calipers and rotors. Use a hex wrench to loosen and remove the bolts that secure the calipers to the frame or fork.
Next, use a clean towel or cloth to wipe the dust and dirt off the brake rotors. Be careful not to touch the rotors with your bare hands, as the natural oils on your skin can contaminate the surface and affect braking performance. Wipe in a circular motion, making sure to remove any dirt, rust, or buildup.
Once the rotors are clean, it’s time to clean the brake pads. Apply a small amount of disc brake cleaner onto a clean towel or cloth, and then squeeze the brake lever to hold the brake pads against the rotor. Gently rub the cleaner onto the pads, making sure to cover the entire surface. This will remove any dirt, dust, or glazed surface that may have built up.
After cleaning the brake pads, it’s important to also check the brake levers and calipers for any dirt or dust. Use a clean towel or cloth dampened with isopropyl alcohol to clean these components thoroughly. Pay attention to any tight spaces or hard-to-reach areas that may be hiding dirt or debris.
Once all the parts are clean, it’s time to reassemble the brake system. Start by tightening the bolts that secure the calipers back onto the frame or fork. Make sure they are tightened to the manufacturer’s specifications, as loose bolts can affect braking performance.
Before mounting the wheels back onto the bike, it’s a good idea to check the brake pad alignment. Give the brake lever a few squeezes to position the brake pads against the rotor. Check that there is an even gap between the brake pads and the rotor on both sides. If needed, adjust the position of the calipers using the hex wrenches.
Finally, give the wheels a spin to ensure that there is no rubbing or friction between the brake pads and the rotor. If you notice any rubbing or noise, it may indicate that the brake pads are not properly aligned or that there is some contamination on the rotor or pads. Use the brake lever to lightly squeeze the pads against the rotor while spinning the wheel to bed in the brakes.
In conclusion, proper cleaning and maintenance of your bicycle disc brakes is essential for optimal performance and safety. Follow these step-by-step techniques to keep your brakes clean, free from contaminants, and in good working condition. Remember to always consult your bike’s manufacturer instructions and recommendations.
FRICTION IS YOUR FRIEND
In the world of bicycle disc brakes, friction is your friend. While rust, dust, and other contaminants can build up on the brake discs over time, it is the friction between the brake pads and the disc that ultimately stops the bike. Therefore, it is important to ensure that your brake system is clean and well-maintained.
When it comes to cleaning your bicycle disc brakes, there are two main parts of the process: cleaning the brake discs and cleaning the brake pads.
Cleaning the Brake Discs
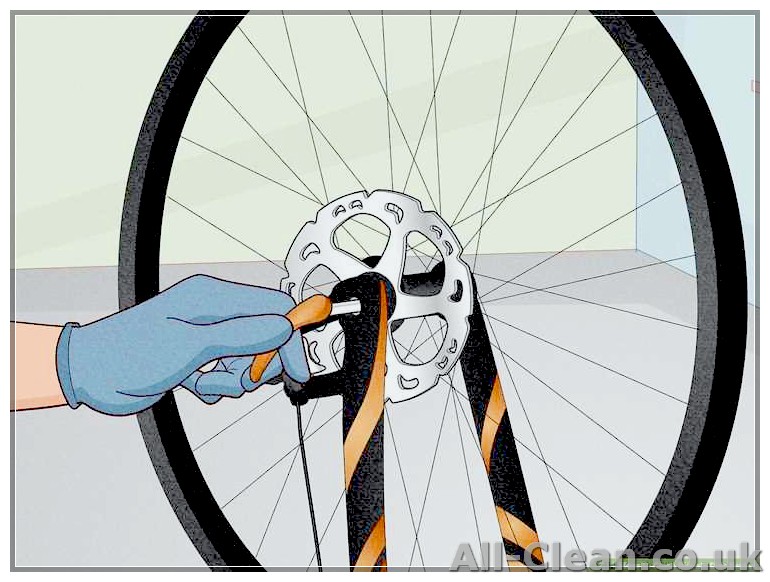
The brake discs are the metal discs that rotate with the wheels. Over time, dirt, oil, and other contaminants can accumulate on these discs, affecting their performance. To clean the brake discs, follow these steps:
- Start by wiping the brake discs with a clean towel to remove any loose dust or dirt.
- If there is stubborn dirt or rust on the discs, you can use a fine-grit sandpaper to gently remove it. Be careful not to take off too much material from the discs.
- After sanding, wipe the discs again with a clean towel to remove any residue.
- Apply a disc brake cleaner product to the discs and use a clean towel to wipe them down. Make sure to get all areas of the discs, including the edges.
- Allow the discs to dry completely before moving on to the next step.
Cleaning the Brake Pads
The brake pads are the part of the brake system that squeezes the discs to produce the friction needed for braking. Over time, the brake pads can pick up dust, oil, and other contaminants, which can reduce their effectiveness. To clean the brake pads, follow these steps:
- Start by removing the brake pads from the caliper. This can usually be done by loosening a screw or bolt.
- Use a disc brake cleaner product to thoroughly clean the brake pads. Make sure to get both sides of the pads.
- Wipe the brake pads with a clean towel to remove any residual cleaner.
- Inspect the brake pads for wear. If they are worn down or damaged, it is recommended to replace them.
- If the brake pads are still in good condition, you can apply a small amount of brake pad lube to the back of the pads before reinstalling them.
- Reinstall the brake pads into the caliper and tighten the screw or bolt.
By following these cleaning techniques, you can ensure that your bicycle disc brakes are in great working condition, making your rides safer and more enjoyable. However, it is important to note that while proper cleaning and maintenance can prolong the life of your brake system, normal wear and tear will eventually require replacement of parts. If you are not comfortable performing these tasks yourself, it is always best to seek assistance from a qualified bike mechanic.
MOST COMMON ISSUES CUSTOMERS FACE AND BIKE SHOPS SEE
Folks, just like any other bike parts, disc brakes can experience their fair share of problems. Here are the most common issues that customers face and bike shops often encounter:
- Heavier or black longer stop times: If you’ve noticed that your bike takes longer to stop or the braking power seems weaker, it may be a sign that your disc brakes need cleaning.
- Shuddering or vibrating while braking: When you squeeze the brake levers and feel a shuddering or vibrating sensation, it’s a good indication that your disc brakes are contaminated.
- Noise: If you hear any unusual noise when braking, such as squealing or grinding, it could be due to dirt or debris on the brake surfaces.
- Reduced braking performance: Over time, dirt and grime can build up on the brake surfaces, reducing the overall braking power. Regular cleaning can help maintain the optimal performance of your disc brakes.
- Poor braking in wet conditions: Wet weather can cause the brake pads to lose their grip on the rotor, resulting in reduced stopping power. Cleaning your disc brakes can improve their performance in wet conditions.
- Contaminating brake pads: Using the wrong cleaning product or touching the brake pads with dirty hands can contaminate them and affect their ability to grip the rotor.
- Worn brake pads: If your brake pads are worn down or damaged, they may need to be replaced. Regularly check the brake pads for wear and tear.
- Warped rotor: Over time, the disc rotor can become warped, causing uneven braking performance. Replacing or straightening the rotor may be necessary.
- Incorrect alignment: Proper alignment of the brake calipers is essential for optimal braking performance. Check the alignment and adjust if necessary.
- Loose or damaged brake parts: Loose bolts, damaged brake levers, or other brake parts can affect the overall functionality of your disc brakes. Check for any loose or damaged parts and address them accordingly.
- Dust and debris build-up: Riding in dusty or muddy conditions can cause dust and debris to accumulate on the brake surfaces. Regularly clean your disc brakes to prevent this build-up.
Remember, taking care of your disc brakes is crucial for safe and efficient riding. Regular cleaning and maintenance can help prolong the lifespan of your brake parts and ensure a smoother and more enjoyable biking experience overall.


