![Step-by-Step Guide: How to Clean Your Domestic Oil Tank | [Website Name]](/wp-content/images/step-by-step-guide-how-to-clean-your-domestic-oil-tank-website-name.jpg "Step-by-Step Guide: How to Clean Your Domestic Oil Tank [Website Name]")
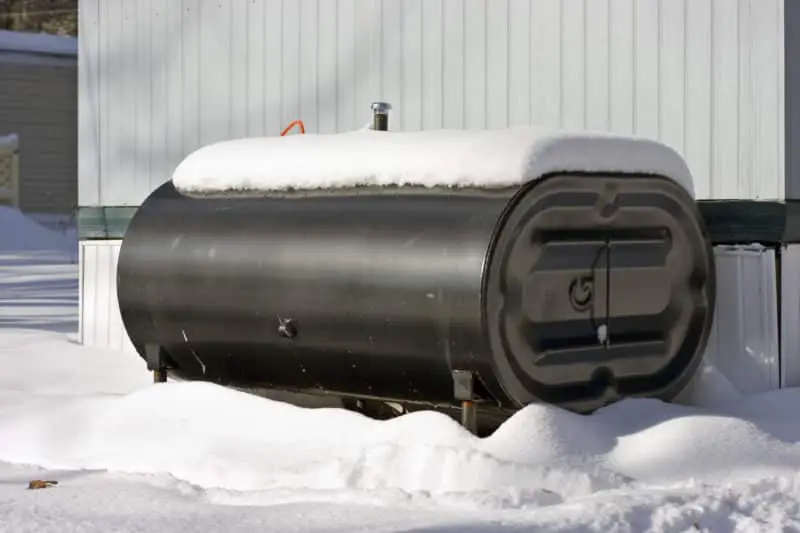
Inspecting and cleaning your domestic oil tank is an essential step in maintaining its efficiency and ensuring the safety of your property. Over time, oil tanks can become contaminated with impurities, spoilage, and other leftover materials that may affect the quality of the oil and its heating efficiency.
Before you start the cleaning process, it’s important to make the necessary preparations. First, find a qualified technician who can help you with the cleaning process and any necessary repairs. They will advise you on the best course of action and provide guidance on how to safely maintain your tank.
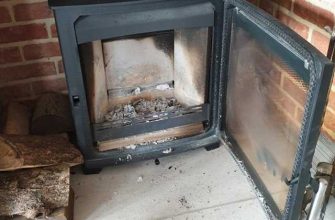
In some cases, there may be signs that your oil tank needs cleaning. If you notice reduced heat efficiency, unusual odors, or any other signs of potential impurities in your oil, it’s important to address the issue promptly. A qualified technician can also help you inspect the tank’s lines and gasket for any signs of wear or damage.
When it comes to cleaning your oil tank, there are a few alternative methods you can use. One popular method is using a chemical additive that helps break down impurities and facilitates the cleaning process. Alternatively, you can also opt for a more traditional approach by manually removing impurities using a light and grease-fighting detergent.
To start the cleaning process, make sure to safely drain the oil from the tank. Use pliers to loosen the tank’s drain plug and let the oil flow into a suitable container. Remember to handle the oil carefully, as it is flammable and can pose a potential hazard.
Once the oil is drained, use a chemical detergent or a mixture of denatured alcohol and water to clean the tank’s interior. Pay special attention to the areas underneath the tank and on the tank’s walls. Scrub off any built-up residue or impurities, making sure to remove any potential spill spots.
After cleaning the tank, it’s important to dry it thoroughly. Use a lint-free cloth or a fan to facilitate the drying process. You can also use a vacuum or a blower to remove any remaining moisture.
Before refilling the tank, it’s important to filter the oil to remove any potential impurities that may have been missed during the cleaning process. Use a filtering system or a nitrobacter additive to ensure the oil is clean and free of contaminants.
Making sure your domestic oil tank is clean and in good condition is an important part of maintaining its efficiency and preventing potential issues. By following these step-by-step instructions and consulting a qualified technician, you can ensure the safety and longevity of your oil tank for years to come.
Remember to schedule regular inspections and cleanings, preferably in the spring, to maintain the optimal condition of your oil tank. By taking proper care of your tank and using the right cleaning methods, you can continue to enjoy the benefits of efficient and reliable oil heating.
- Step-by-Step Guide: How to Clean Your Domestic Oil Tank
- Step 1: Prepare for Cleaning
- Step 2: Empty the Tank
- Step 3: Inspect and Remove Remaining Oil
- Step 4: Clean the Tank
- Step 5: Inspect and Replace Components
- Step 6: Refill the Tank
- [Website Name]
- Step 1: Remove the oil from the tank
- Step 2: Empty the tank and remove any remaining oil
- Step 3: Clean the tank
- Step 4: Rinse the tank
- Step 5: Dry the tank
- Additional Tips
- Clean the Tank Filter
- Video:
- Daily Auto Scrubber Maintenance: How to Clean an Autoscrubber in 10 Steps
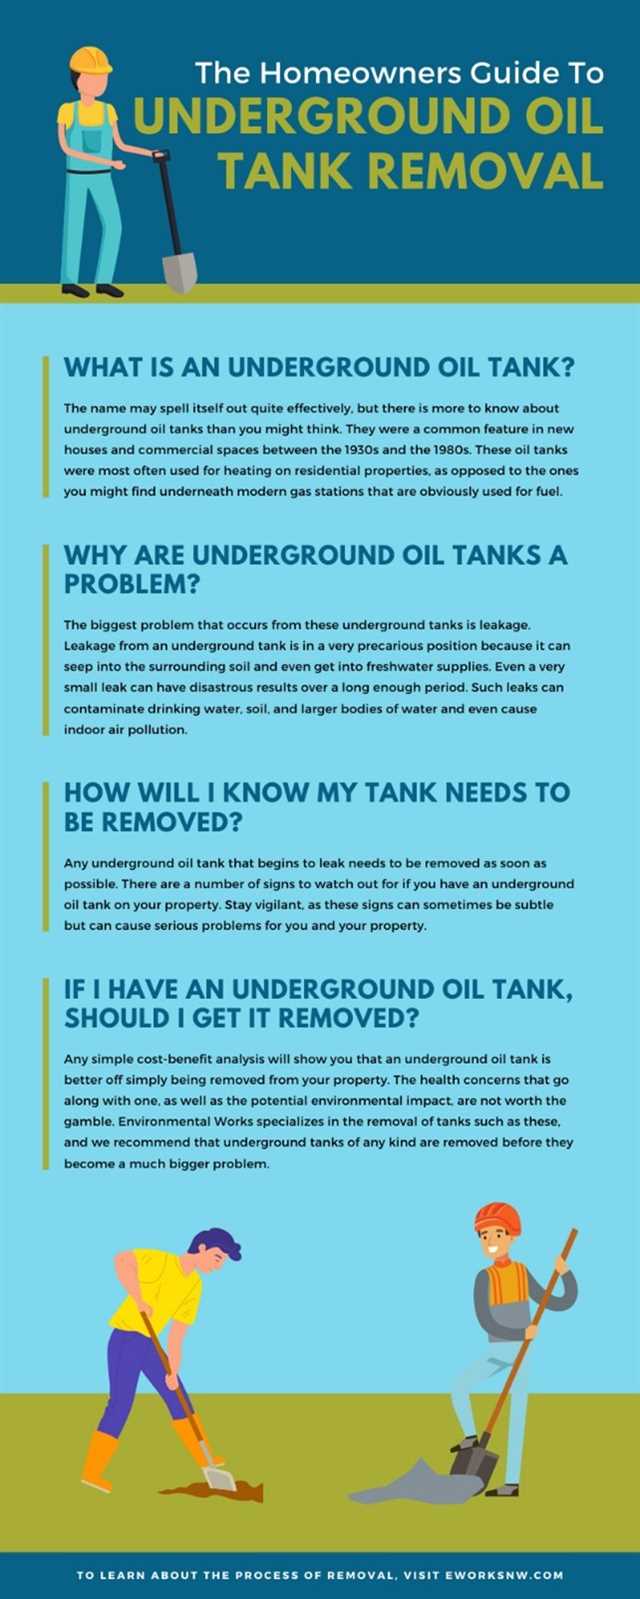
Step-by-Step Guide: How to Clean Your Domestic Oil Tank
Regularly cleaning your domestic oil tank is essential for maintaining its efficiency and preventing breakdowns. Over time, oil tanks can accumulate residue and debris, leading to decreased performance and increased fuel consumption. In this step-by-step guide, we will walk you through the process of cleaning your domestic oil tank to keep it running smoothly.
Step 1: Prepare for Cleaning
- Before starting the cleaning process, ensure that you comply with all local regulations and safety guidelines.
- Make sure you have all the necessary equipment and protective gear, such as gloves and goggles.
Step 2: Empty the Tank
- Start by completely shutting off the oil supply to the tank.
- Use a pump or siphon to remove any remaining oil in the tank. Make sure to collect and store the oil properly for later use or disposal according to regulations.
Step 3: Inspect and Remove Remaining Oil
- Use a flashlight to locate any leftover oil in the tank.
- If there is still oil present, use an absorbent material to soak it up and dispose of it properly.
Step 4: Clean the Tank
- Use a cleaning additive specifically designed for oil tanks to thoroughly clean the inside of the tank. Follow the manufacturer’s instructions for optimal results.
- Use a brush or sponge to scrub the tank’s walls and remove any remaining residue or sludge.
- Once the tank is clean, rinse it thoroughly with water until no traces of the cleaning solution remain.
Step 5: Inspect and Replace Components
- Inspect the tank’s gasket for any signs of wear or damage. Replace it if necessary.
- Check other components such as filters and valves for any signs of malfunction. Replace them if needed.
Step 6: Refill the Tank
- Once the tank is clean and all components are in good working condition, you can refill it with fresh oil.
- Observe the recommended schedule for oil tank refilling to ensure optimal efficiency and prevent breakdowns.
By following these steps and regularly cleaning your domestic oil tank, you can keep it running smoothly and reduce the risk of costly breakdowns. Remember to observe all safety precautions and follow local regulations throughout the cleaning process.
[Website Name]
Using and maintaining a domestic oil tank is an important responsibility for homeowners. Over time, oil tanks can become dirty and filled with sediment, which can cause damage to the tank and affect the quality of the oil. Therefore, it is essential to regularly clean and dispose of the sediment properly. This step-by-step guide will help you understand what happens during the cleaning process and how to clean your domestic oil tank properly.
Step 1: Remove the oil from the tank

To clean your oil tank, you must first remove the oil using a pump or siphoning device. Make sure to have proper containers for the oil disposal. It is recommended to contact a qualified oil agent for safe oil disposal.
Step 2: Empty the tank and remove any remaining oil
Once the oil is removed, use pliers or a wrench to disconnect any fuel lines or fittings. Make sure to wear protective gloves and follow safety guidelines. Remove any remaining oil from the tank.
Step 3: Clean the tank
After the tank is emptied, you can now clean the inside. Use a scrub brush or sponge to scrub away any dirt or sediment that has built up over time. If necessary, you can use a chemical cleaner, but make sure to follow the manufacturer’s instructions and dispose of any rinsing water properly.
Step 4: Rinse the tank
After scrubbing, rinse the tank thoroughly to remove any remaining cleaning agent or dirt. Make sure to dispose of the rinsing water properly. It is important to note that rinsing water can’t be reused or disposed of in a way that can harm the environment or ecosystem, like pouring it down the drain or into a river.
Step 5: Dry the tank
Once rinsed, allow the tank to dry completely. This will remove any moisture that may cause corrosion or damage to the tank. Make sure the tank is properly dried before filling it with oil again.
Additional Tips
- Check the tank’s condition for any signs of damage or leaks. If there are any concerns, contact a qualified professional for inspection or replacement.
- Observe a regular cleaning schedule to ensure your tank is always clean and functioning properly.
- Dispose of any dirty materials, like rags or sponges, in a safe manner.
- If you are not confident in cleaning the tank yourself, it is best to trust a qualified professional to do the job.
By following these steps and guidelines, you can ensure that your domestic oil tank is kept clean and in proper condition. This will help prevent issues with your oil system and ensure that your home stays warm during the colder months. Remember, regular maintenance is essential for a safe and efficient oil storage system. Contact a professional in Sussex if you need assistance with your oil tank cleaning or maintenance needs.
Clean the Tank Filter
One of the important steps in cleaning your domestic oil tank is to clean the tank filter. A clean filter ensures the safe and efficient functioning of your heating equipment.
Follow these steps to clean the tank filter:
- Shut off the motor: Before you begin, make sure the motor is shut off to prevent any accidents or injuries.
- Remove the tank filter: Locate the tank filter, which is usually located near the oil tank. Unscrew or unhook the filter from its housing.
- Clean the filter: Take the tank filter outside and use a degreaser or a proper cleaning product to remove any dirt, grease, or impurities. Scrub the filter thoroughly to ensure it is completely clean.
- Inspect the filter: After cleaning, visually inspect the filter to make sure it is free from any excessive dirt or build-up. If you notice any damage or excessive clogging, it may need to be replaced.
- Reinstall the filter: Once the filter is clean and in good condition, reinstall it back into its housing. Make sure it is securely sealed to prevent any leaks or related issues.
Cleaning the tank filter helps prevent any breakdowns or motor issues resulting from dirty or clogged filters. By regularly cleaning the tank filter, you ensure that only high-quality oil is supplied to your heating equipment, providing optimal energy efficiency and protection.
If you’re unsure about how to clean the tank filter or don’t have the required materials, you may seek assistance from a qualified technician or consult your oil supplier for more information.