

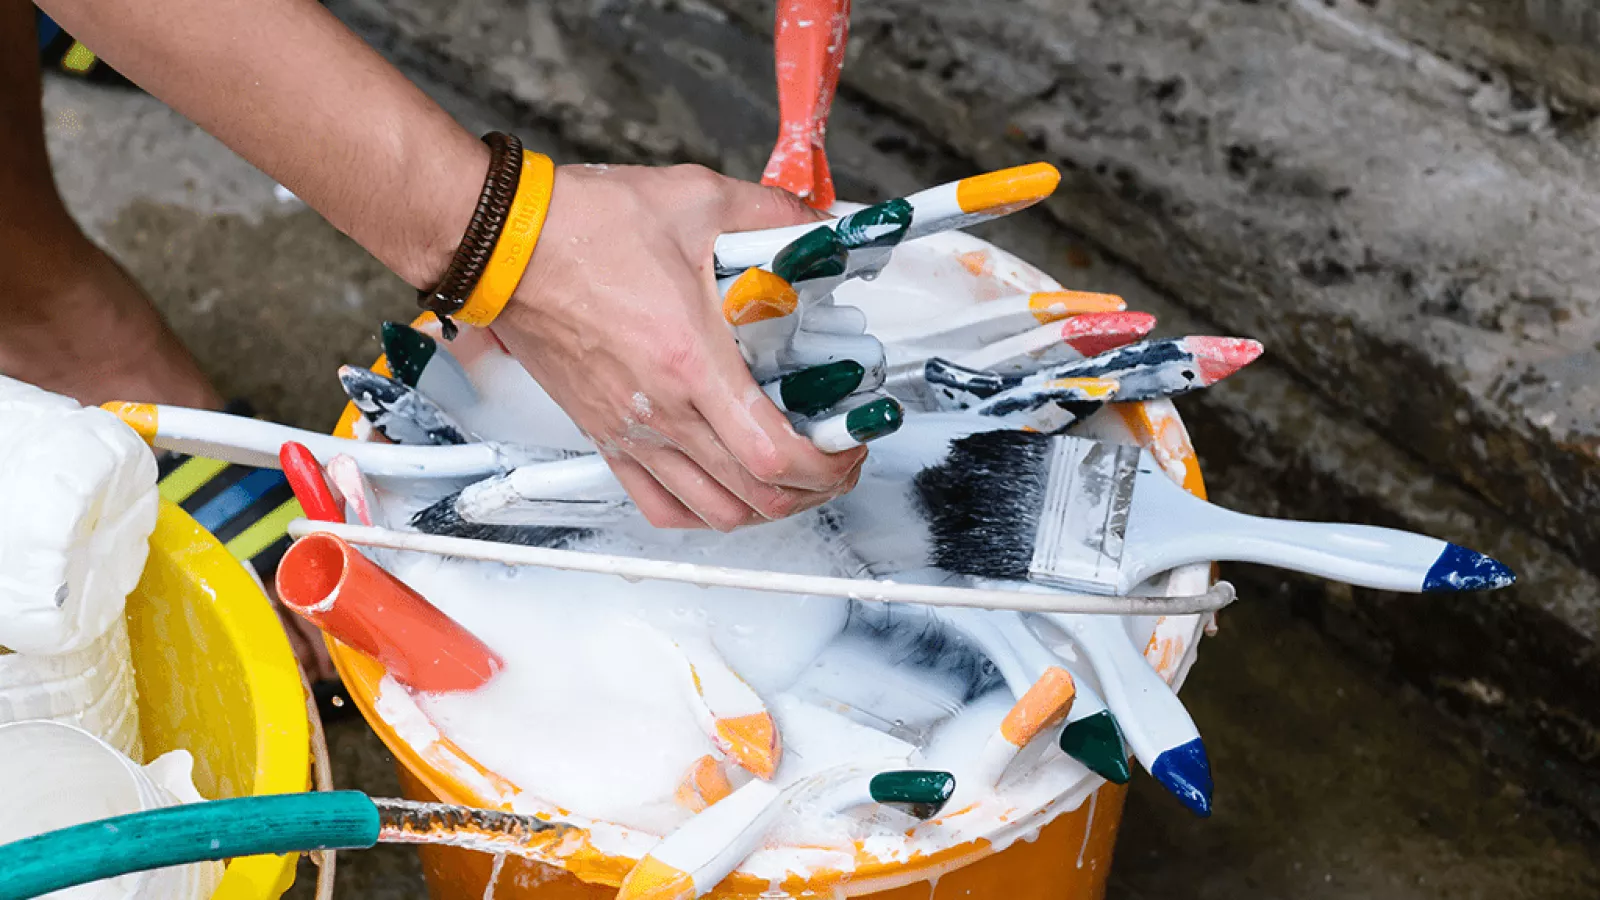
When it comes to painting projects, cleaning up afterward is often the least enjoyable part. You find yourself in the position of having to clean your paint brushes, and you may be tempted to take the quick and easy route by rinsing them off in the sink. However, this seemingly convenient solution can actually cause serious damage to your plumbing system and have negative effects on the environment.
Rinsing paint brushes in the sink can lead to major clogs in your plumbing systems. The paint can harden and stick to the pipes, creating blockages that are difficult to remove. This can result in costly repairs and even the need to replace parts of your plumbing system. Additionally, paint residue can damage the grout and seals around your sink, leading to leaks and further plumbing issues.
Another reason to avoid cleaning your paint brushes in the sink is the potential for toxic chemicals to enter the water supply. Many paints contain hazardous materials that are harmful to humans and the environment. When these chemicals go down the drain, they can contaminate water sources and have a negative impact on aquatic life. It is important to dispose of paint and paint-related products in an environmentally friendly manner.
So, where should you choose to clean your paint brushes instead? A clever TikTok trend suggests using a sealed container filled with water-based solvents. By placing your brush into the container and allowing it to soak, the paint will loosen and can be easily removed. Once cleaned, the container can be emptied into a waste disposal system or thrown away according to local regulations. This method not only minimizes water waste but also reduces the risk of environmental contamination.
It’s important to remember that cleaning your paint brushes properly not only protects the environment but also extends the life of your painting tools. By taking the time to clean them after each use, you can keep your brushes and rollers in optimal condition for future projects. So, next time you find yourself tempted to rinse those paint brushes in the sink, think twice and consider the best way to clean and dispose of the paint residue without causing damage or harm.
Sign up for our newsletter to learn more about how to clean and maintain your painting tools, as well as discover other clever DIY tips. Get more delivered to your inbox and stay informed on the latest trends and viral social media hacks. Don’t let clean-up ruin your painting dreams – be a responsible painter and protect your home, your tools, and the environment.
- The best way to environmentally clean brushes and rollers
- Contaminated Water
- How to store equipment for future decorating
- 1. Clean your brushes and rollers
- 2. Use an airtight container
- 3. Store them in a cool, dry place
- 4. Label the container
- 5. Clean other equipment properly
- 6. Dispose of hazardous waste properly
- 7. Sign up for a post-decorating clean-up service
- How to Clean Grout and Mortar Trowels
- 1. Gather the necessary materials
- 2. Remove excess grout and mortar
- 3. Prepare the cleaning solution
- 4. Soak the trowels
- 5. Scrub the trowels
- 6. Rinse with clean water
- 7. Dry and store
The best way to environmentally clean brushes and rollers
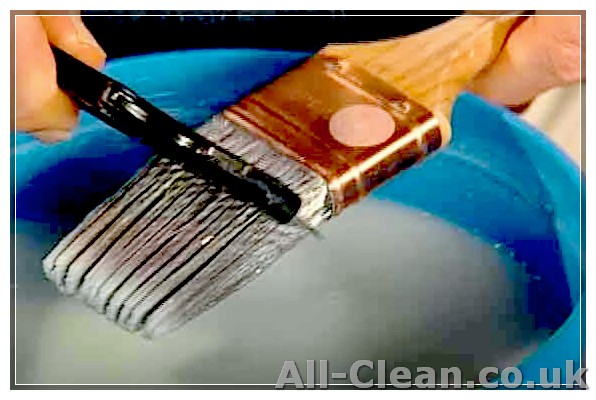
When it comes to cleaning paint brushes and rollers, many people tend to use the sink. However, this method can be harmful to the environment and cause blockages in the plumbing system. There is a smarter and more environmentally friendly way to clean these tools.
One clever and trendy method that takes just a few minutes is to use a masking tape. First, remove as much paint as possible from the brush or roller by wiping it on the edge of the paint can or using a knife to scrape it off. Then, wrap a strip of masking tape tightly around the bristles or roller nap, leaving the handle exposed.
Next, mix a small amount of gentle soap or detergent with water in a bucket or tray. Dip the brush or roller in the soapy water and scrub them gently to remove any remaining paint. This way, you can avoid using harsh solvents and minimize waste.
After scrubbing, rinse the tools in clean water to remove any soap residue. Repeat this process until the water runs clear. This method is especially important for brushes and rollers used with water-based paints, as the solvents can be harmful to the environment.
Once clean, hang the brushes and rollers to dry in a well-ventilated area or place them on a clean surface. Avoid drying them near open flames or sources of heat, as this can cause the bristles or nap to melt or deform.
Another environmentally friendly option is to use paint brush and roller cleaning systems. These systems collect the paint waste as you clean and separate it from the water. The water can then be reused, and the paint waste can be disposed of properly.
In a viral video on TikTok, a popular DIY site called Hacksters delivers a strong message about the impact of cleaning paint brushes in the sink. The video shows a blockage in a septic tank caused by paint waste going down the drain. The video quickly gained attention and became a trend on the platform, inspiring many to find better ways to clean their painting tools.
If you’re a fan of environmentally friendly practices and want to minimize waste, it is essential to watch and follow these hacks and tips. By doing so, you can help protect the environment and prolong the life of your brushes and rollers.
- Remove excess paint from brushes and rollers using a knife or by wiping them on the edge of the paint can.
- Wrap masking tape tightly around the bristles or roller nap, leaving the handle exposed.
- Mix a small amount of gentle soap or detergent with water in a bucket or tray.
- Dip the brush or roller in the soapy water and scrub gently to remove any remaining paint.
- Rinse the tools in clean water to remove any soap residue.
- Hang the brushes and rollers to dry in a well-ventilated area or place them on a clean surface.
- Consider using paint brush and roller cleaning systems to minimize waste and reuse water.
By following these environmentally friendly cleaning methods, you can avoid using the sink, reduce waste, and keep your brushes and rollers in good condition for future use.
Contaminated Water
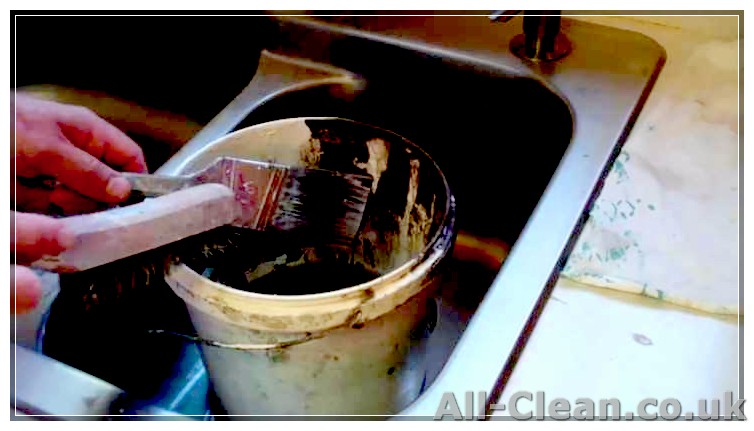
One of the main reasons why you should never clean paint brushes in the sink is that it can lead to contaminated water. When you clean solvent-based paint brushes in the sink, the paint gets washed off and mixes with the water. This can result in toxic water that is hazardous for the environment and other living organisms.
When large amounts of paint enter the water system, it can cause blockages in pipes and drains. Paint particles can bind together and form clumps that block the flow of water, leading to plumbing issues. These blockages can be difficult and expensive to remove, requiring extreme cleaning or even equipment replacement.
Even if you’re using water-based paint, it’s still not a good idea to clean your brushes in the sink. While it may seem like the water will wash away the paint easily, the reality is that some amount of paint will still stick to the brushes. Over time, this can build up and cause blockages in the pipes.
The trend of cleaning paint brushes in the sink has become viral on social media platforms like TikTok. Many users share these “hacks” to make cleaning brushes easier and more convenient. However, these trendy techniques disregard the potential hazards they pose to the environment and plumbing systems.
To avoid contaminated water and blockages in your plumbing, it’s best to follow these tips:
- Wipe off excess paint from your brushes with a rag or paper towel before cleaning.
- Use a brush comb or wire brush to remove any leftover paint from the bristles.
- Get a container, such as a paint tray or bucket, to rinse your brushes in.
- Fill the container with water and gently swish your brushes around to loosen any remaining paint.
- Empty the dirty water and repeat the rinsing process until the water runs clear.
- If you’re using solvent-based paint, pour the dirty water into a separate container to allow the paint to settle at the bottom.
- Once the paint has settled, you can pour the clear water down the sink and properly dispose of the paint residue.
- For water-based paint, you can safely pour the rinsed water down the sink or in a garden if approved by local regulations.
By following these steps, you can minimize the amount of paint and contaminants that enter the water system. Storing your brushes properly, such as in an airtight container or brush keeper, can also help combat the spread of bacteria and preserve the brushes for future use.
Remember, it’s important to consider the impact of your actions on the environment and to prioritize responsible clean-up methods to ensure a healthier future for everyone.
How to store equipment for future decorating
When it comes to decorating, proper storage of your tools and equipment is essential to ensure their longevity and effectiveness. Here are some tips on how to store your equipment for future use:
1. Clean your brushes and rollers
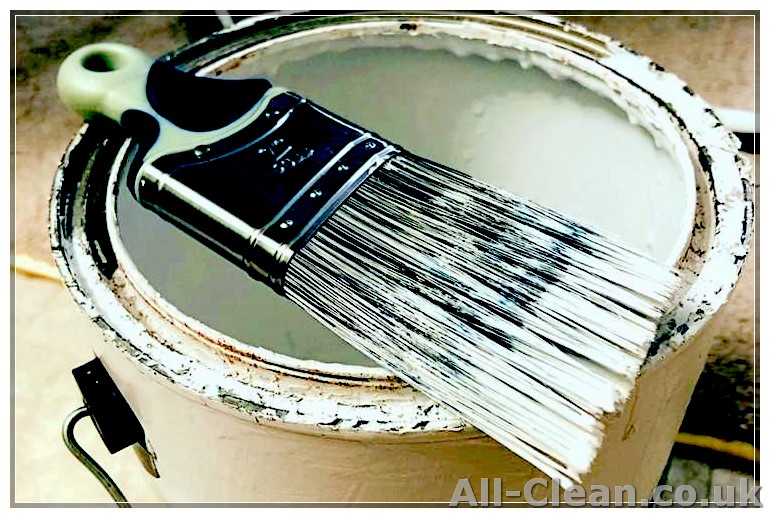
Before storing your brushes and rollers, it is crucial to clean them properly. Remove any excess paint by wiping them on a newspaper or old rag. Then, use lukewarm water and mild soap to wash the brushes and rollers thoroughly. Rinse them until the water runs clear, and gently squeeze out any excess water.
2. Use an airtight container
Invest in an airtight container or zip-lock bag to store your brushes and rollers. This will prevent the brushes from drying out and keep them in the best condition for future use. Make sure that the container is clean and dry before placing your brushes inside.
3. Store them in a cool, dry place
Find a cool and dry place to store your equipment. Extreme heat or humidity can damage the bristles of your brushes and cause them to deteriorate. Avoid storing them near radiators, windows, or in basements where moisture levels are high.
4. Label the container
Label the airtight container or bag with the type of brush or roller it contains and the date it was last used. This will help you identify the tools easily when you need them again and keep track of their usage.
5. Clean other equipment properly
Besides brushes and rollers, there are other tools and equipment that you may use during decorating, such as trowels, trays, and tape. Make sure to clean them thoroughly before storing them. Remove any dried paint or debris, and wipe them with a damp cloth or mild soapy water.
6. Dispose of hazardous waste properly
If you have any hazardous waste, such as paint thinner or solvents, that cannot be reused, make sure to dispose of them following the proper guidelines. Check with your local waste management facility for the best way to dispose of these materials in an environmentally friendly manner.
7. Sign up for a post-decorating clean-up service
If you don’t want to deal with the hassle of cleaning and storing your equipment after decorating, consider signing up for a post-decorating clean-up service. These services will come to your property and take care of the clean-up for you, saving you time and effort.
By following these tips, you can ensure that your decorating equipment stays clean, organized, and ready for future use. Proper storage and maintenance will not only prolong the lifespan of your tools but also save you time and money in the long run.
How to Clean Grout and Mortar Trowels
Cleaning grout and mortar trowels is an essential part of maintaining their effectiveness and prolonging their lifespan. Whether you’re a professional working on a construction site or a homeowner doing some decorating at home, knowing how to properly clean these tools is important. In this article, we will guide you through the steps to clean grout and mortar trowels effectively.
1. Gather the necessary materials
Before you start cleaning the grout and mortar trowels, gather the following materials:
- Water
- Enzyme cleaners
- Cloth
- Masking tape
2. Remove excess grout and mortar
Using a cloth or a brush, remove any excess grout and mortar from the trowels. This step will help minimize the amount of waste you’ll have to deal with later on.
3. Prepare the cleaning solution
If you’re working with water-based grout and mortar, simply fill a container with water. For stubborn stains or hardened grout and mortar, choose environmentally friendly enzyme cleaners and follow the instructions on the packaging to prepare the cleaning solution.
4. Soak the trowels
Place the trowels in the cleaning solution and let them soak for a few minutes. This will help loosen any remaining grout and mortar, making it easier to clean.
5. Scrub the trowels
Using a brush or a cloth, scrub the trowels to remove any grout and mortar residues. Be thorough and make sure to clean all the nooks and crannies of the tools.
6. Rinse with clean water
After scrubbing, rinse the trowels with clean water to remove any cleaning solution and residues. This step is important to ensure the longevity of your tools and prevent any unwanted reactions in future use.
7. Dry and store
Finally, dry the trowels thoroughly with a cloth and store them in a clean, dry place. Make sure they are properly sealed to avoid any moisture or dirt accumulation that can weaken the tools over time.
By following these simple steps, you’ll be able to clean grout and mortar trowels effectively and ensure their long-lasting use. Remember, proper maintenance of your tools can save you both time and money in the long run, so don’t neglect this important step in your working or home improvement routine.


