

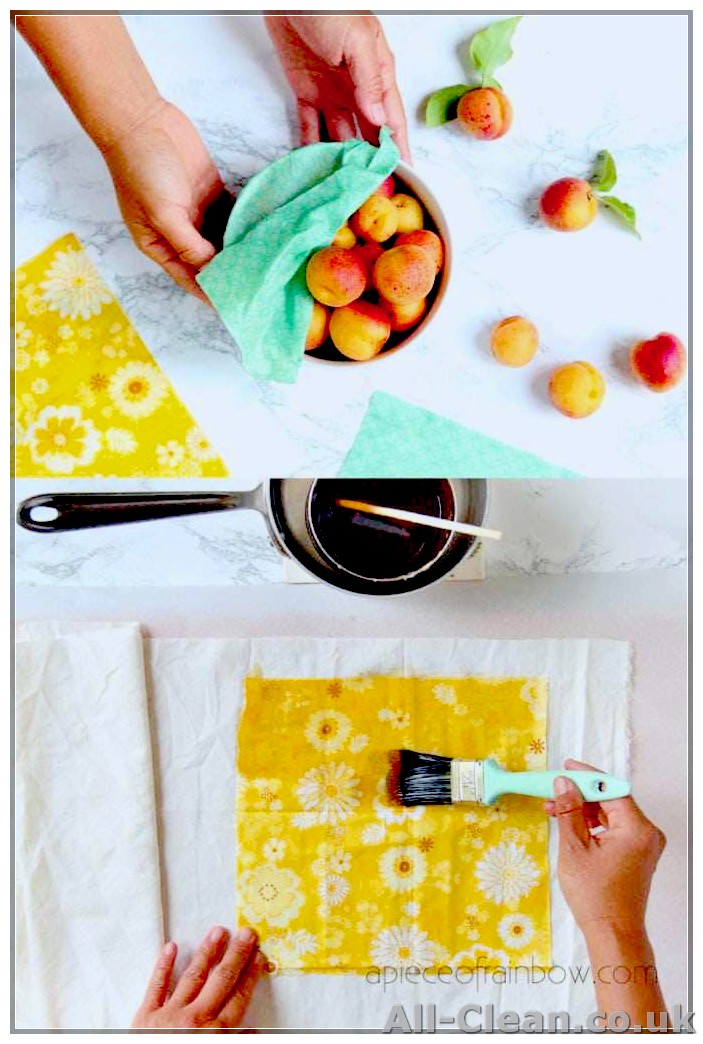
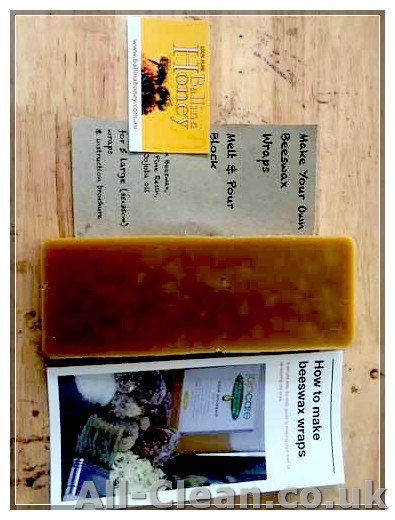
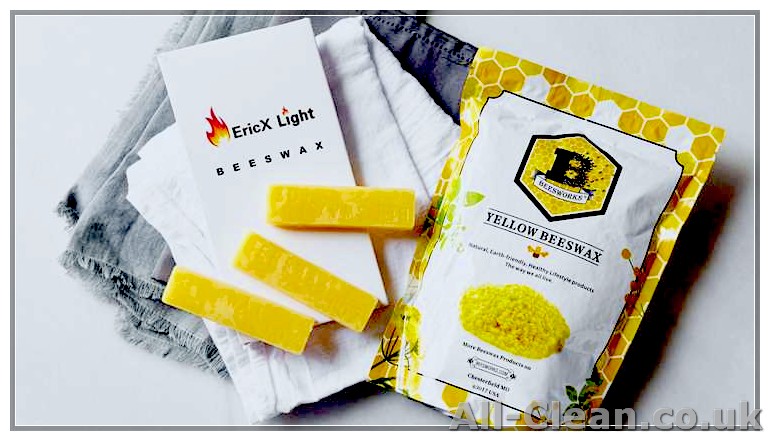
Beeswax wraps have become a popular choice for people looking to reduce waste and embrace a more eco-friendly lifestyle. These reusable wraps, made from a blend of beeswax, natural oils, and resins, offer a versatile and durable solution for storing food without depending on single-use plastics. Whether you use them to wrap sandwiches, cover bowls of leftovers, or store half-cut avocados, keeping your beeswax wraps clean is an important step in ensuring their longevity and reducing cross-contamination.
So, what steps should you take when it comes to cleaning your beeswax wraps? Let’s dive into these simple yet effective tips:
- Step 1: Spot-Clean Stains
- Step 2: Rinse with Mild Soap
- Step 3: Air Dry
- Step 4: Revive with Heat
- Step 5: Store Properly
- Step 1 – Spot Treat and Remove Stains
- Step 2 – Rinse Thoroughly
- Step 3 – Wash your beeswax wraps with soap when needed
- Step 4 – Dry your beeswax wraps properly
- Recent Posts
- Cleaning Beeswax Wraps
- How Do You Wash Beeswax Wraps
Step 1: Spot-Clean Stains
Before you toss your beeswax wraps into the washing machine, take a moment to spot-clean any noticeable stains. Use a brush or a cloth soaked in warm water to gently scrub away any food residue or dirt. Be careful not to scrub too hard, as this can damage the wax coating on the wraps.
Step 2: Rinse with Mild Soap
After spot-cleaning, rinse your beeswax wraps under lukewarm water. Apply a small amount of mild dish soap and evenly distribute it across the surface of the wrap. Gently rub the soap into the fabric to remove any remaining stains or odors.
Step 3: Air Dry
After washing, let your beeswax wraps air dry. Hang them up or lay them flat on a drying rack. Avoid using high heat or direct sunlight to speed up the drying process, as this can cause the wax to melt and reduce the lifespan of the wraps.
Step 4: Revive with Heat
If your beeswax wraps are starting to lose their stickiness, you can easily revive them by applying a little heat. Place the wraps on a baking sheet lined with parchment paper and preheat your oven to a low temperature (around 150°F or 65°C). Once the oven is ready, put the baking sheet with the wraps inside for 2 to 3 minutes. Take them out and let them cool down before using again.
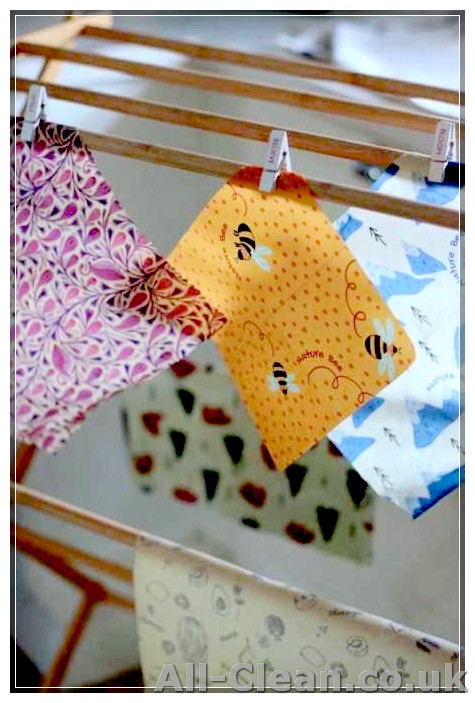
Step 5: Store Properly
When not in use, store your clean beeswax wraps in a cool and dry place. Avoid storing them in high humidity areas, such as next to the sink or the dishwasher. If you have multiple wraps, an effective way to store them is by folding them neatly and stacking them in a drawer or a container. This will help prevent the wraps from getting crumpled or damaged.
By following these simple cleaning and storing steps, you can ensure that your beeswax wraps last longer and continue to serve as a sustainable alternative to single-use plastics. So go ahead, embrace the eco-friendly buzz and make the switch to these all-natural and durable wraps!
Step 1 – Spot Treat and Remove Stains
One common issue with beeswax wraps is that they can sometimes develop stains over time. Luckily, there are several alternatives to store-bought stain removers that are both effective and all-natural.
To remove a stain from your beeswax wrap, follow these simple steps:
- Identify the stain and its source, whether it’s from fruits, vegetables, meats, or other foods. This will help you choose the correct cleaning method.
- If the stain is fresh, gently blot the excess liquid with a clean cloth or paper towel. Avoid rubbing the stain, as it may spread and become more difficult to remove.
- Next, rinse the stained area under cool water. Be sure to rinse both sides of the wrap thoroughly to remove any residue.
- For stubborn stains, you can spot treat the affected area with an all-natural stain remover. A few drops of liquid dish soap or an enzyme cleaner diluted with water can work wonders. Apply the cleaner to the stain and gently rub it in with your fingers or a soft brush.
- Leave the spot treatment on for 5-10 minutes to allow it to penetrate the stain. Then, rinse the wrap under cool water again to remove the cleaning solution.
After following these steps, your beeswax wrap should be clean and ready to use again. If the stain persists, you can try repeating the spot treatment process or consider using alternative cleaning methods, such as baking soda paste or lemon juice.
By taking care of your beeswax wraps and addressing stains promptly, you can ensure they last as long as possible, saving money and reducing waste.
Step 2 – Rinse Thoroughly
After brushing off any food residue in Step 1, it’s time to give your beeswax wraps a thorough rinse. This step will help remove any remaining dirt or stains on the wraps.
- Rinse – Rinse the wraps under running water. Make sure to rinse them thoroughly to remove any loose dirt or debris.
- Soap – If your wraps have stubborn stains, you can use a mild dish soap to help remove them. Apply a few drops of soap to the stained area and rub gently with your fingers or a brush. Rinse the wraps again to remove any soap residue.
- Watch the temperature – Be careful not to use hot water during rinsing, as it can melt the beeswax coating on the wraps.
- Dry – After rinsing, gently shake off any excess water and hang the wraps to air dry. Avoid using a dryer or any other heat source to dry them, as this can also damage the beeswax coating.
Rinsing your beeswax wraps thoroughly is important to ensure that they are clean and ready to be used again. This step helps to remove any leftover food particles and stains, making your wraps suitable for storing different types of foods.
Remember, the more you take care of your wraps, the longer they will last. Rinse them thoroughly after each use to keep them in good condition and reduce the need for frequent washing.
Step 3 – Wash your beeswax wraps with soap when needed
When your beeswax wraps get dirty and need a thorough clean, washing them with soap is an effective way to remove dirt and grime. This step should be done when necessary, depending on how often you use your wraps and the type of food you wrap with them.
Sometimes, simply rinsing the wraps under cold water is enough to clean them. However, there are instances when soap is needed to ensure proper cleaning. For example, if your wraps have been used to cover oily or saucy foods, washing them with soap will help to eliminate any residue and odor.
To wash your beeswax wraps, you can either use a mild dish soap or a natural soap specifically designed for cleaning beeswax wraps. Make sure to avoid using hot water or placing your wraps in ovens, as the heat can have a negative impact on the beeswax coating.
Start by wetting your wraps under cold water. Apply a few drops of soap onto the wrap and gently rub it in with your hands. Pay attention to any soiled areas and make sure to clean them thoroughly. Once the soap is evenly distributed, rinse the wraps under cold running water to remove any soap residue. Repeat this process if necessary.
After washing, gently squeeze out any excess water from the wraps. You can then place them on a clean towel or hang them to air dry. Make sure to dry them completely before storing them away to prevent mold and mildew.
It’s important to note that washing your wraps too frequently can wear down the beeswax coating and reduce their durability. Therefore, only wash your wraps when necessary to prolong their lifespan.
In the next step, we will discuss how to properly store your beeswax wraps to ensure they last longer and remain ready for future use.
Step 4 – Dry your beeswax wraps properly
Once you have finished cleaning your beeswax wraps, it is important to dry them properly to ensure they last longer. Here’s how:
- Start by shaking off any excess water or gently pat the wraps with a clean cloth to remove moisture.
- Next, lay your beeswax wraps flat on a clean, dry surface. You can use a dish rack, towel, or a heat-resistant sheet to prevent any watermarks or damage to your wraps.
- Avoid direct sunlight or high heat sources, such as ovens, for drying your wraps. Excessive heat can melt the beeswax and affect the durability of the wraps.
- If you want to speed up the drying process, you can place a dry towel on top of the wraps and roll them together. This will help to absorb the moisture.
- Leave the wraps to air dry completely before rolling or folding them for storing. This usually takes around 30 minutes to an hour, depending on the temperature and humidity levels.
By taking the time to properly dry your beeswax wraps, you can prevent any issues that may arise from moisture being trapped in the wraps. Trapped moisture can lead to mold or mildew growth, which can be both unsightly and unhealthy.
Remember, beeswax wraps are reusable, so it’s essential to take care of them to ensure their longevity. Properly drying your wraps after each use will help to maintain their effectiveness and prevent any potential damage or issues from occurring.
Recent Posts
- Cleaning Beeswax Wraps in 5 Simple Steps
- Using Beeswax Wraps as an Alternative to Plastic Wrap
Beeswax wraps are gaining popularity around the world as an eco-friendly alternative to plastic wrap for storing food. Not only do they reduce waste, but they also have a smaller environmental impact.
However, after using beeswax wraps for some time, you may notice that they start to lose their stickiness or become stained. In this article, we will discuss how to clean beeswax wraps and revive them for continued use.
Cleaning Beeswax Wraps
- Spot-clean the wraps by wiping them with a damp cloth or rinsing them under cold water. Avoid using hot water or wetting them too much, as this could melt the beeswax coating and lead to a stinky mess.
- If the wraps are slightly soiled and still have a sticky feel, you can add a small amount of dish soap to cold water and gently wash them. Rinse them well and pat them dry with a dishcloth.
- For tougher stains or odors, you could sprinkle some baking soda on the affected areas and rub it in gently. Let it sit for a few minutes before rinsing.
- To eliminate any remaining odor, you may consider soaking the wraps in a mixture of white vinegar and water for a few minutes before washing them.
- Avoid using dishwashers or hot water, as these can damage the wraps and shorten their lifespan. Instead, wash them by hand and air dry them by hanging or laying them flat on a clean surface.
By following these steps, you can ensure that your beeswax wraps stay clean and in good condition for longer use. Remember to store them correctly in a drawer or wrapped around a clean sheet to keep them ready for your next use.
Before purchasing beeswax wraps, it’s important to consider the cleaning process and whether it fits into your lifestyle. If you are someone who frequently uses oil or mayonnaise in your dishes, the wraps may get stained more easily. Additionally, higher humidity levels in your area could also impact the wraps’ stickiness. In such cases, you may want to target cleaning these wraps more often or opt for reusable wraps made from alternative materials.
Using beeswax wraps is a sustainable and waste-reducing choice for your family. Consider incorporating them into your daily routine to reduce your plastic waste and have a positive impact on the environment.
How Do You Wash Beeswax Wraps
Beeswax wraps are a popular and sustainable alternative to plastic wrap for storing food. They are made from a combination of beeswax, cotton or hemp fabric, and natural tree resin. Beeswax wraps are durable and can be used again and again, reducing waste and helping you transition towards a zero-waste lifestyle.
When it comes to cleaning your beeswax wraps, there are a few simple steps you can follow:
- Before washing: Make sure to remove any leftover food particles from the wrap. This can be done by simply wiping it with a cloth or rinsing it under cold water.
- Hand wash: Fill a bowl with cold water and add a few drops of dish soap. Gently wash the beeswax wrap in the soapy water, making sure to clean both sides.
- Rinse: After washing, rinse the wrap thoroughly under cold water to remove any soap residue. Make sure to rinse the wrap evenly.
- Air dry: Hang the beeswax wrap or lay it flat on a clean surface to air dry. It should dry completely before being stored.
- Storing: Once the beeswax wrap is dry, it can be folded or rolled and stored in a drawer or container until it is needed again.
It’s important to note that beeswax wraps should not be used to wrap raw meats or fish, as they cannot be washed with hot water. If you do end up with a stain or a smelly wrap, you can spot-clean it using a mild soap or vinegar solution.
Following these steps will ensure that your beeswax wraps last for a long time and stay clean and fresh. If properly washed and cared for, beeswax wraps can last up to a year or more, depending on how often you use them.
Beeswax wraps are great for wrapping bread, fruits, vegetables, and other foods, but it’s always a good idea to use a container or a beeswax wrap with a wax paper sheet underneath when holding wet or oily foods like avocado or mayo-based dishes to avoid any leakage or staining.
There are many brands that offer beeswax wraps, and some even offer vegan alternatives made with plant-based waxes, such as soy or candelilla wax. Be sure to read product descriptions and customer reviews to find the best option for your needs.
By incorporating beeswax wraps into your kitchen routine, you can eliminate the need for single-use plastic wrap and help reduce overall waste.


